How a Moving Time-Lapse Works
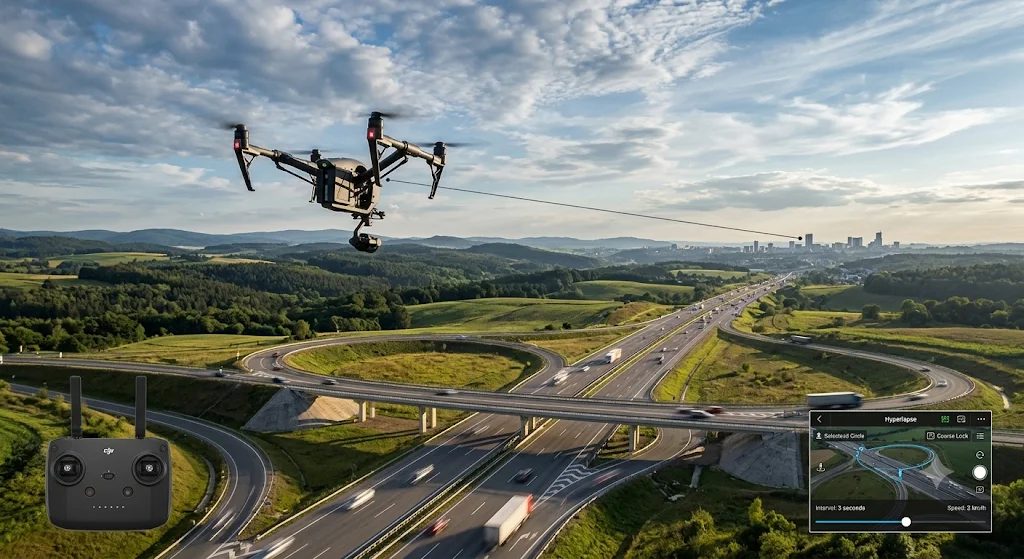
A standard time-lapse is recorded while a camera sits locked on a tripod. This technique condenses time. However, a hyperlapse adds spatial movement by putting that camera in motion. As the drone flies along a pre-programmed flight path, it snaps still photos at set time intervals, typically one to five seconds apart. When you stitch those individual high-resolution images together into a video file, time speeds up, and the camera appears to glide smoothly across the terrain.
Before launching your drone to record an extended flight path, pilots must follow local aviation safety regulations. You must maintain a clear visual line of sight and avoid flying over crowded public areas
Essential Equipment and Automated Features
Creating a professional hyperlapse by hand is incredibly difficult. Manual flying requires perfect execution, and photo spacing must be flawless. This is nearly impossible to control. Modern camera drones solve this challenge by including built-in intelligent flight modes. They handle the complex math for you. These automated features include:
- GPS Waypoint Navigation: Onboard GPS and GLONASS satellite receivers let the aircraft lock onto precise coordinates. The drone can then repeat the identical path multiple times. This is essential for consistent spacing.
- Motorized Gimbal Stabilization: A three-axis gimbal keeps the camera horizon level against wind gusts. This prevents shaky or bouncy video frames. Stabilization must be active during the entire flight.
- Interval Timer Controls: Automated software triggers the shutter every two to five seconds while maintaining locked exposure and focus settings
Setting Up and Flying Your Route
A cinematic hyperlapse starts with planning. Select the best flight path inside your mobile drone app. Most modern systems offer four main movement styles: free flight, circle mode, course lock, and custom waypoint routing.
Plan your battery usage carefully because recording a short ten-second hyperlapse can easily take twenty minutes of real flight time
Processing and Exporting Your Final Clip
Once your drone finishes flying its automated route, you must render the photos into a finished video file. Many consumer drones automatically generate a quick 1080p preview video right inside the mobile flight app
However, for the highest quality results, transfer your uncompressed RAW image files to a computer video editor like Adobe Premiere Pro or DaVinci Resolve. The original quality is vastly superior. Adjust the color grading and apply advanced stabilization tools, such as the Warp Stabilizer algorithm. These tools analyze optical flow. They intelligently smooth out minor wind bumps. This process requires significant computational power but delivers professional quality. Finally, export your finished project in 4K resolution at 24 frames per second for a clean, professional, and cinematic finish