Hiring a Qualified Drone Pilot
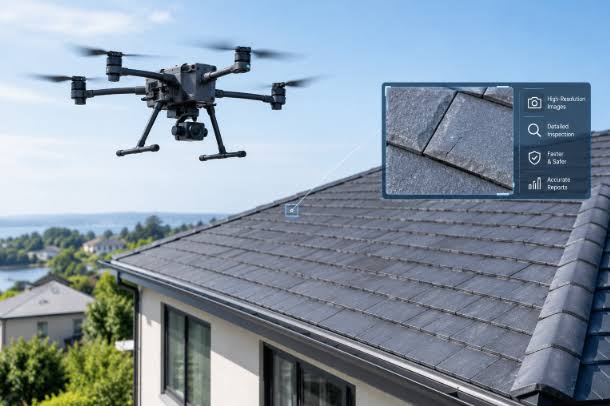
Climbing onto a steep or damaged roof is dangerous, so hiring a certified drone pilot is a much safer choice. Before the flight, make sure the pilot has valid commercial aviation credentials and liability insurance so the flight follows your local airspace rules.
Give the pilot a clear written brief before they take off. Walk around your property together from the ground and point out the trouble spots, like water stains inside, clogged gutters, or loose tiles after a storm. Ask for wide shots of every roof slope and close-ups of chimneys, skylights, and metal flashing. Clear directions also save battery life.
Camera Settings: Getting Sharp Photos
Sharp roof photos need careful camera settings, not automatic modes. Bright midday sun makes harsh shadows under the roof edges, but cloudy skies give soft, even light that shows small cracks or moss.
Ask the pilot to use a low ISO (100 to 200) and a fast shutter speed so wind doesn’t make the photos blurry. Inspection drones use high-megapixel CMOS sensors and multi-axis gimbals to keep the camera steady. Shooting in uncompressed RAW keeps the most detail, so roofers can zoom in on dark spots between shingles later.
Camera Settings: The Trade-Off
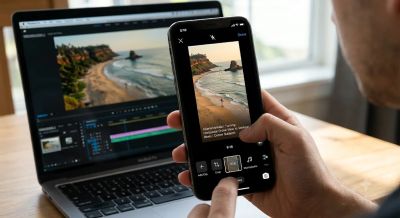
There’s a catch, though. RAW files are huge, and they need a lot of computer power before a contractor can open them on a phone. So have the pilot also give you smaller, high-resolution JPEG copies for quick viewing on mobile, along with the original RAW files.
Organizing Photos for Your Roofer
If you hand a contractor two hundred unlabelled photos, it takes longer to get a repair quote. Put the photos in a neat folder so the roofer can see every problem right away.
- Start with orientation: Put four wide shots at the beginning of the folder, labelled North, South, East, and West, so the contractor can map every slope.
- Group close-ups by area: Make separate subfolders for places like the main ridge, chimney flashing, solar panel mounts, and drainage valleys.
- Add simple notes: Draw bright circles around cracks, lifted shingles, or pooled water, and add a short note about any leak inside the house under that spot.
Why Photos Aren’t Enough
Drone photos give a safe, detailed look at surface damage, but they’re only a first check. A camera can’t feel soft, rotted wood under shingles that look fine. It also can’t test how well nails hold or find moisture trapped deep in the insulation.
If you only trust drone photos and skip the hands-on check, it could cost you a lot. A cheap photo scan might miss hidden rot, and that can lead to expensive emergency repairs later. Send your organized photo folder to a licensed roofing contractor first. Then book a full hands-on inspection to find out how healthy the roof really is.