Start with one achievable project
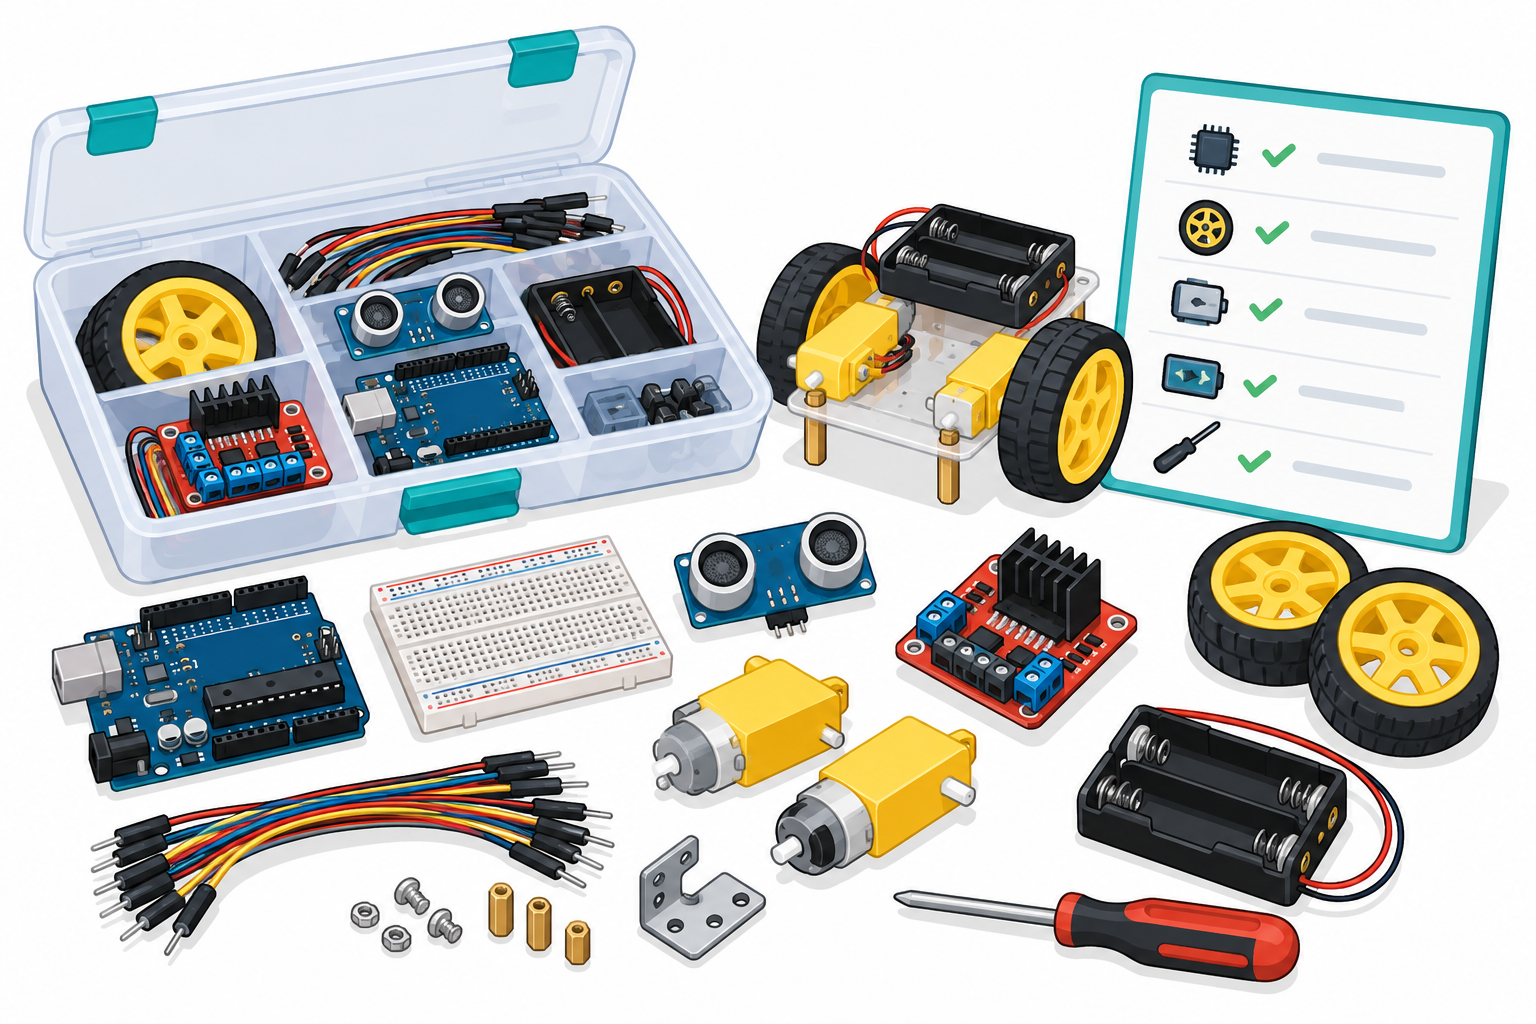
Use one consistent example throughout: a small two-wheel robot that drives forward, detects a nearby obstacle with an ultrasonic sensor, and turns away. A suitable kit needs a microcontroller, two geared motors, a motor driver, a chassis and wheels, a distance sensor, jumper wires, mounting hardware, and an appropriate motor power source. Choosing for one clear goal helps you avoid paying for extras you will not use.
Seven steps to choose a compatible kit
1. Define the job before browsing. Write down what your robot must do: measure distance and control two motors. Extra line sensors, displays, Bluetooth modules, and robotic arms are optional for this first project. Add them only when a later project needs them.
2. Confirm the controller and connection. Look for an Arduino Uno-compatible board or another controller supported by your chosen tutorial. Check whether the USB cable is included and whether your computer supports the board. “Arduino compatible” does not guarantee identical pin labels, USB chips, or setup steps, so compare the exact model with the tutorial.
3. Match the motor driver to the motors. The controller’s output pins cannot safely power drive motors directly. The kit needs a motor driver, such as an L298N-type board, rated for the motors’ voltage and current. Check the exact driver model and wiring diagram. A kit that includes motors but no suitable driver is incomplete for this example.
4. Check the distance sensor. For this robot, look for an HC-SR04 ultrasonic sensor and enough wires to connect power, ground, trigger, and echo. Check its voltage requirements and whether the chassis has a place to mount it facing forward. If the kit uses a different sensor, the wiring and code may need changes.
5. Audit the power and mechanical parts. Confirm the chassis, two wheels, caster, screws, spacers, battery holder, switch, and jumper wires are included. Check whether batteries are sold separately. Use a power source suitable for the motors and driver; never power motors directly from the Arduino 5 V pin. Follow the manufacturer’s wiring instructions for a shared ground.
6. Compare the complete cost and trade-offs. Compare the headline price plus shipping, batteries, a screwdriver if needed, and missing cables or brackets. One example kit listing has shown ₹1,799–₹2,899, but retailer prices and contents can change. A larger kit may offer more sensors, while a smaller kit with clear instructions can be a better first purchase. Open the seller listing on purchase day and save its bill of materials.
7. Make a go/no-go decision. Before checkout, answer yes to all five questions: Does the tutorial match the controller? Are two motors and a compatible driver included? Is the distance sensor included? Is the motor power source specified? Are assembly instructions and example code available? If any answer is unclear, ask the seller or choose a better-documented kit.
Compatibility checklist
Use this quick table to compare two or three kits side by side.
|
Part |
Why it matters |
What to verify |
|
Controller |
Runs the program |
Exact board model and tutorial match |
|
Motor driver |
Controls motor current |
Voltage/current ratings and pin labels |
|
Ultrasonic sensor |
Measures distance |
Model, voltage, wires, mounting |
|
Battery holder |
Powers the motors |
Suitable supply; are cells included? |
|
Chassis and wheels |
Allows movement |
Two compatible wheels, caster, screws |
Common problem and solution
Problem: the kit arrives, but the tutorial’s code or wiring labels do not match the board. Solution: compare the exact controller and motor-driver model with the product listing before ordering. Keep a copy of the parts list. If the listing does not identify the board or driver clearly, ask the seller for a photo and wiring diagram rather than assuming components are interchangeable.
How to check your decision
Your result is ready when you have a checklist showing every required part, whether it is included, evidence that it is compatible, and any extra cost. If all essential parts have a clear match and the complete cost is within budget, the kit is a reasonable candidate. This guide’s workflow is a purchasing checklist; no physical kit was bought or tested while preparing it.